

Inventory App
The Inventory App is an integrated system for managing your inventory quantities and tracking them accurately. It lets you record incoming goods, review current stock, adjust quantities, and transfer goods between internal locations, all from one place.
Why use the Inventory App?
Know the quantity of each product available in the warehouse at any time.
Record incoming goods received from suppliers in an organized way.
Adjust quantities and correct any discrepancies found during stocktaking.
Transfer goods between internal storage locations with ease.
Generate detailed reports by product, category, or location.
How to access the app
From the system's home page, click the “Inventory App” icon to open the app directly.
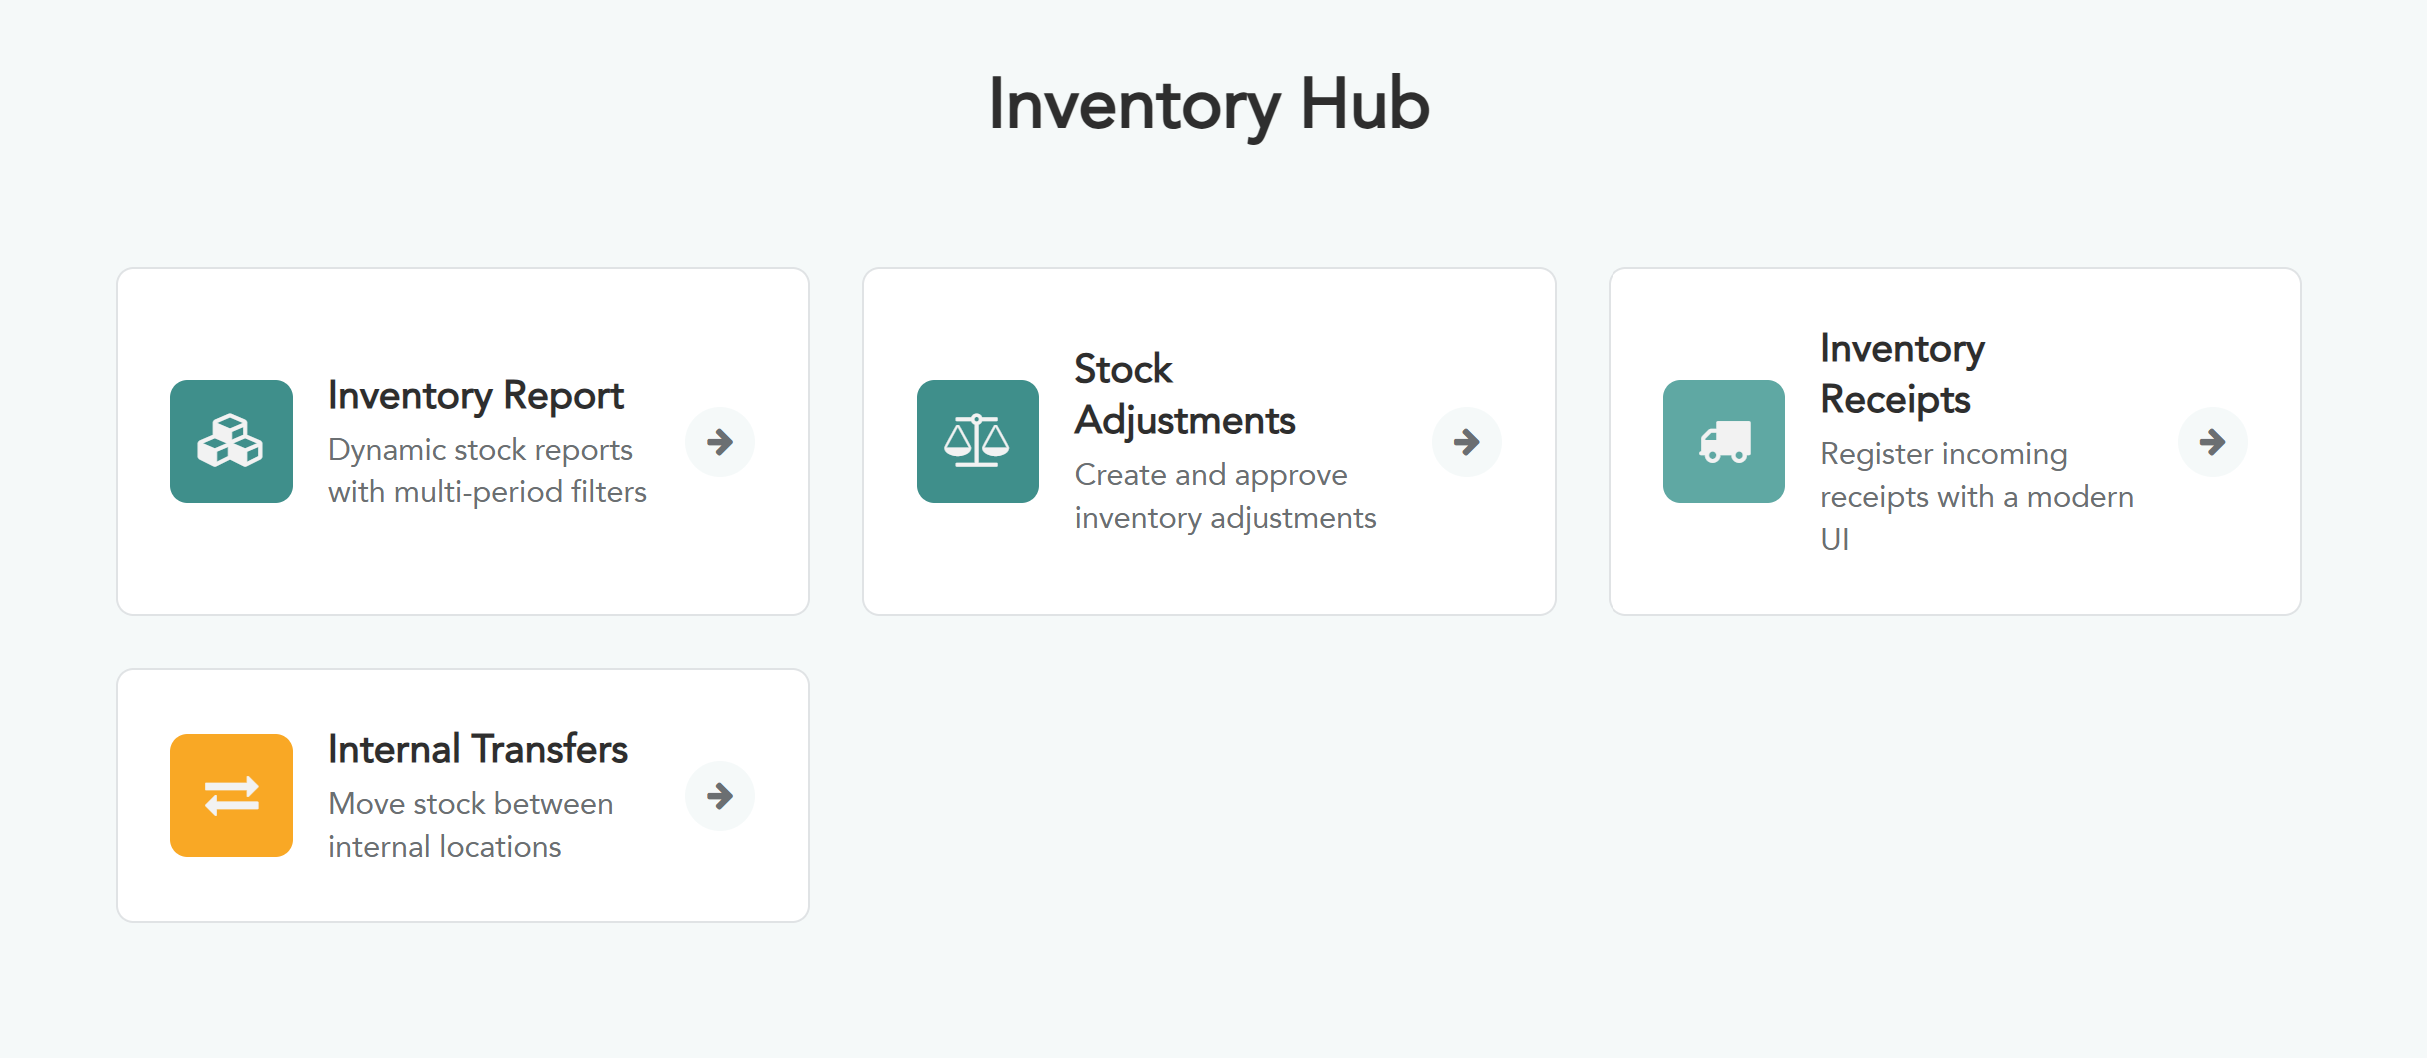
The main dashboard will appear, containing four main sections.
The app's main sections
Inventory Report — a comprehensive view of available stock.
Inventory Adjustments — stocktaking and quantity corrections.
Add Inventory — recording new incoming shipments.
Internal Transfers — moving goods between locations.
1. Inventory Report
This section gives you a comprehensive, dynamic view of your current inventory. You can filter by product, category, or location, and see the available quantity and value for each item. You can also export the report as a PDF or an Excel file.
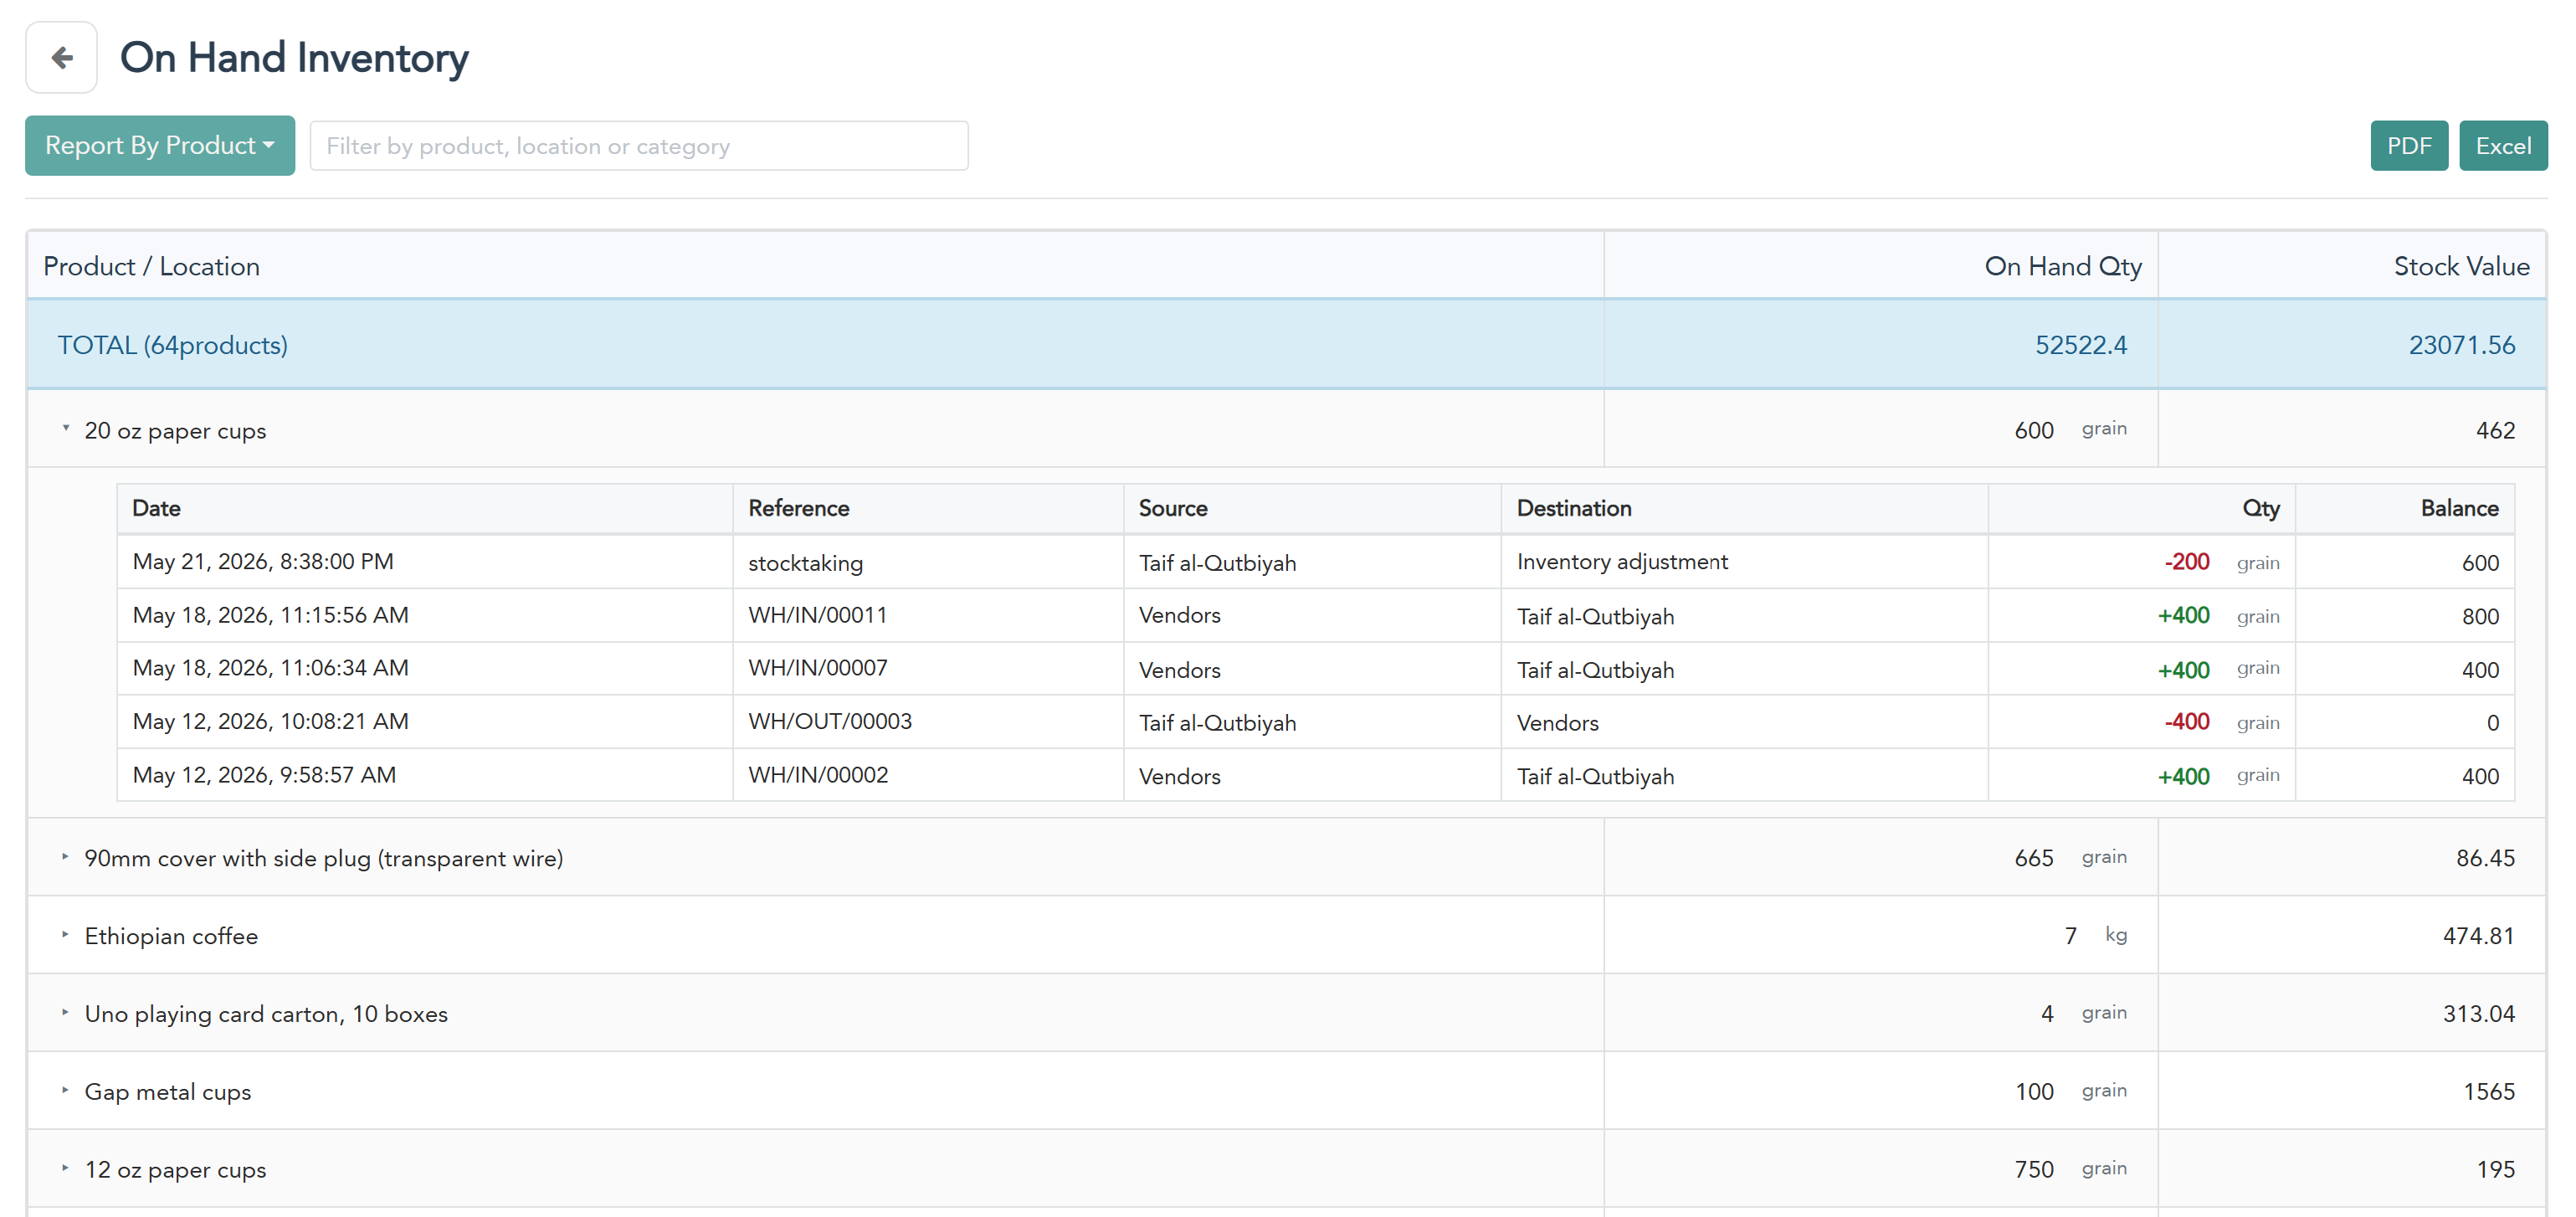
Choose how to view the report: by product – by category – by location.
Filter and search by product name or location using the search field.
Export the report as a spreadsheet (Excel) or a formatted file (PDF).
The total number of registered products appears along with the total quantities and value.
Clicking a product shows its movement details.
The “Available Inventory” page for each product shows: product name – available quantity – unit of measure – inventory value – inventory movement.
2. Inventory Adjustments
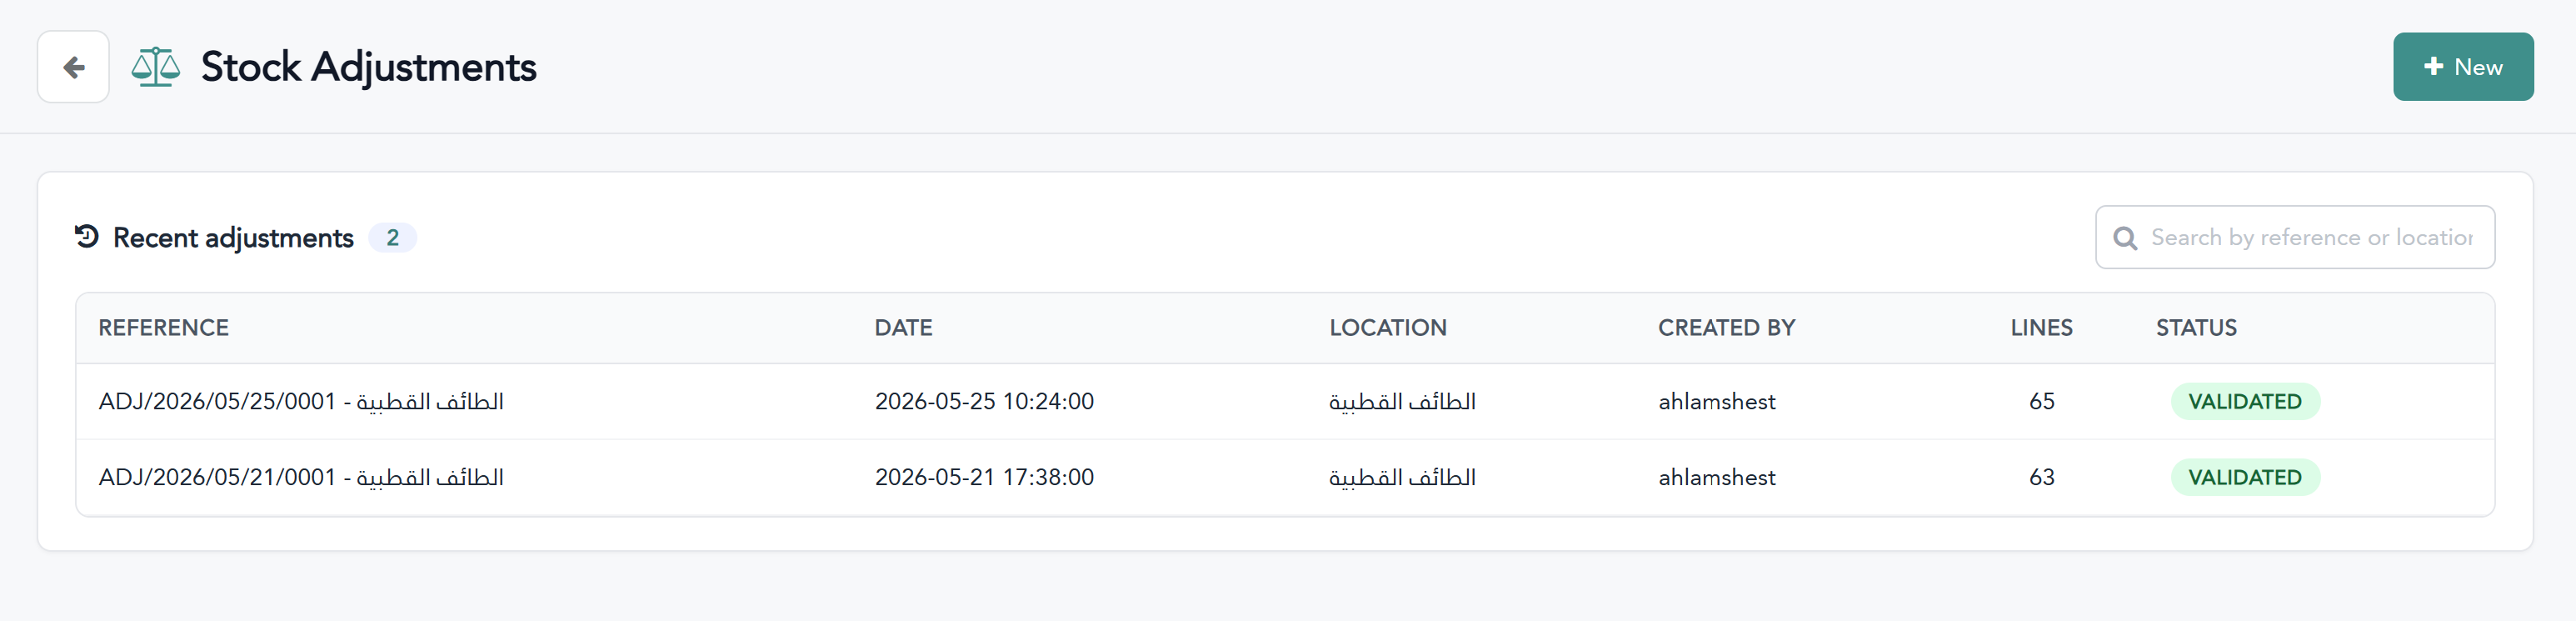
This section is used to carry out periodic inventory stocktaking and correct any discrepancies between actual quantities and those recorded in the system. You can count all products at once, a single category, a single product, or use manual entry.
Creating an inventory adjustment
Click the “New” button. The following window will appear. Fill in the fields according to the instructions below:
The following window will appear; fill in the fields according to the instructions below.
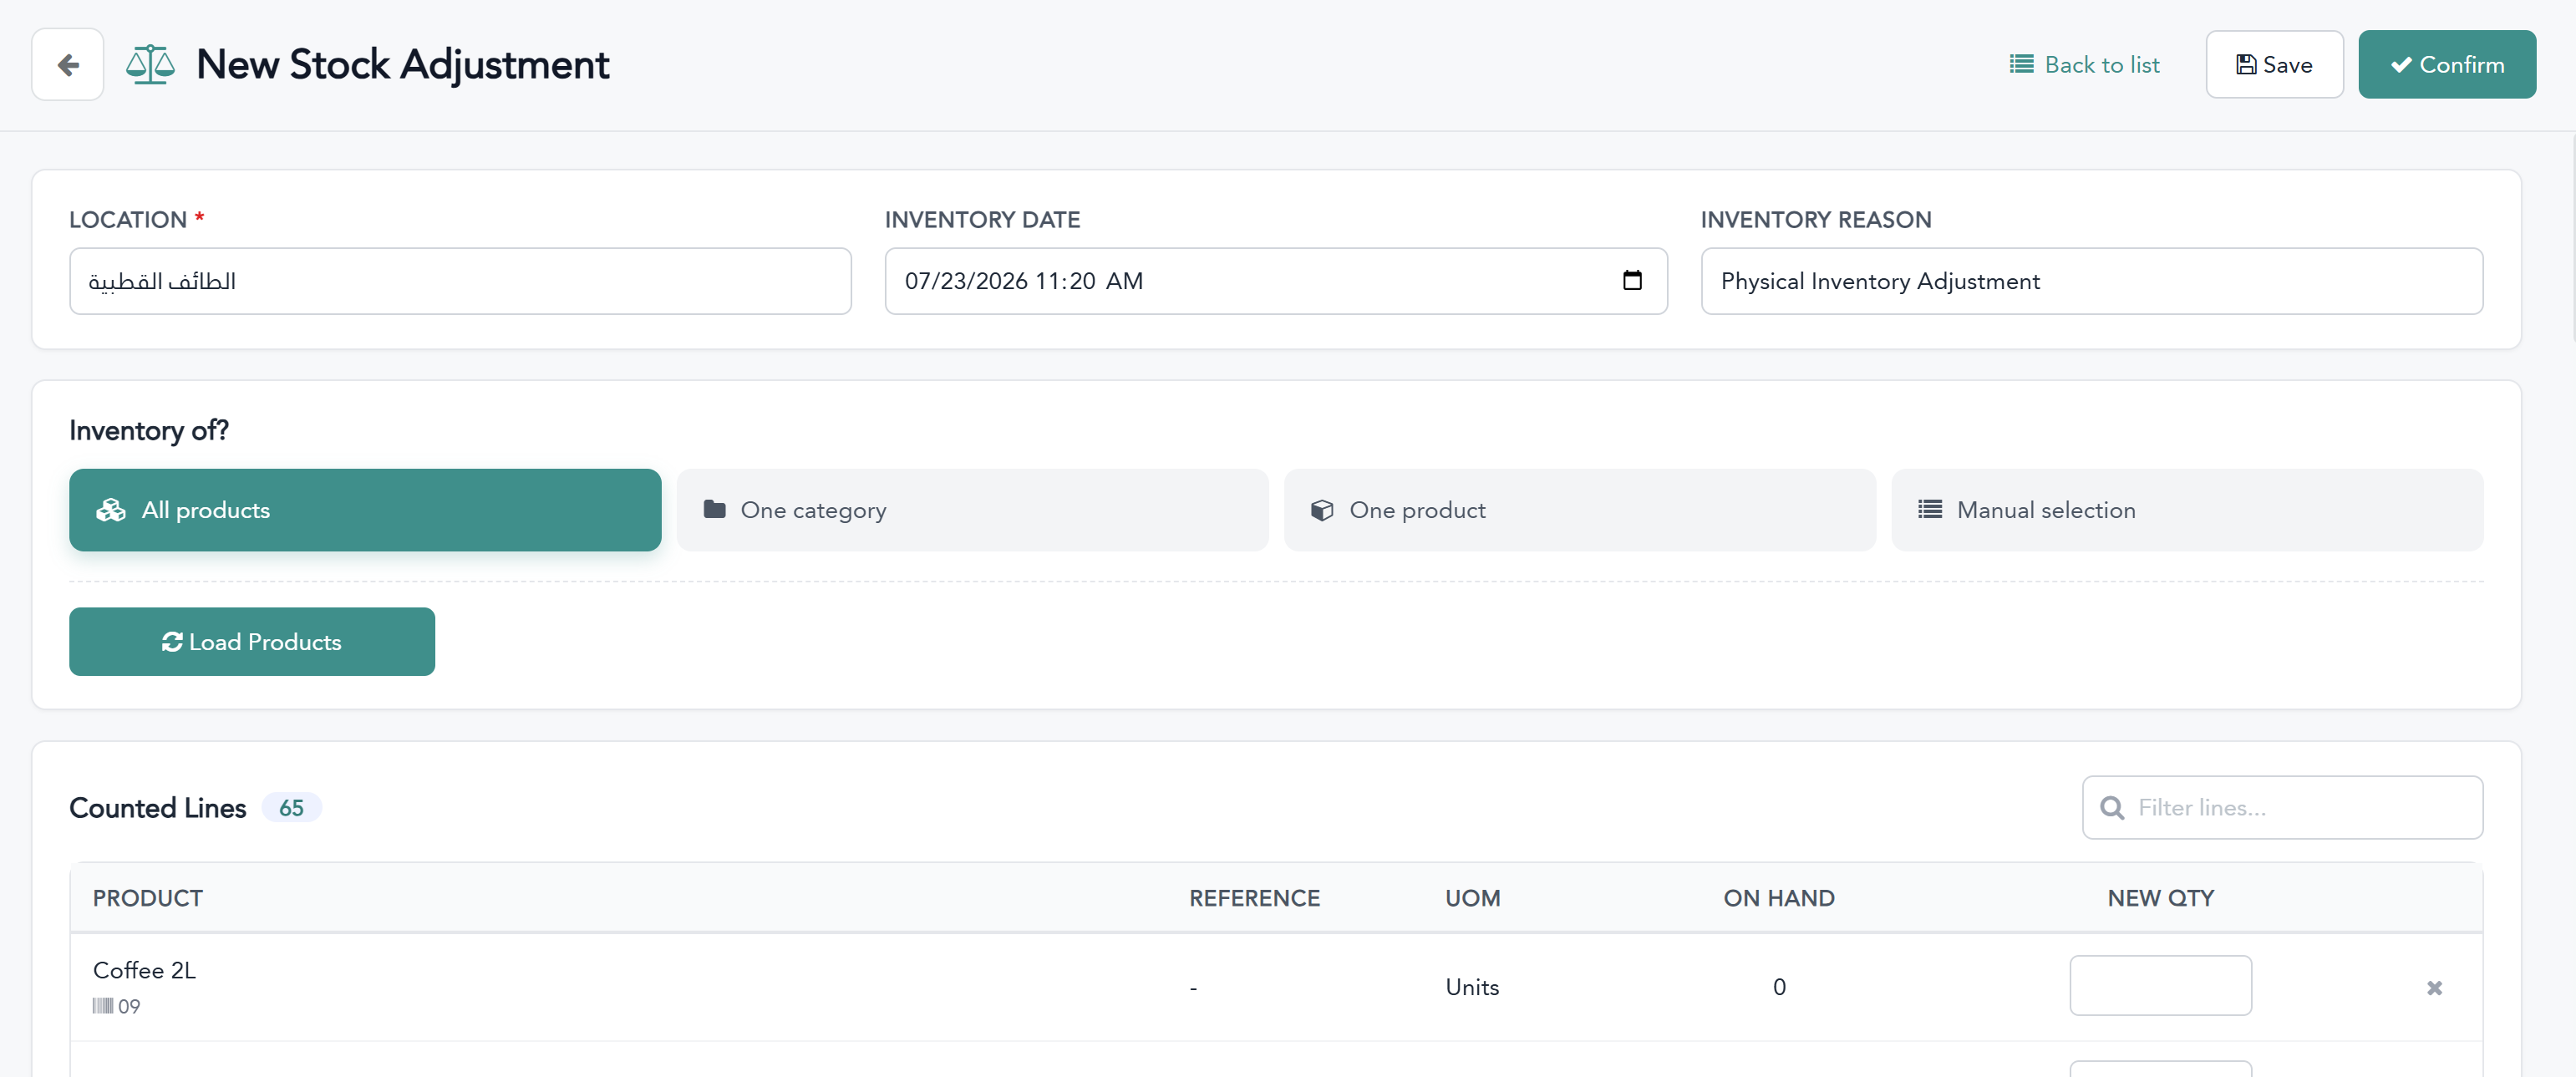
Select “Location” — choose the storage location you want to count.
Select “Stocktaking Date” — automatically filled with the current date.
Select “Inventory Adjustment Reason” — the default reason is “Inventory Stocktaking”.
Select “List By” — choose between: All Products / Single Category / Single Product / Manual Selection, then click “Load Products”.
The products appear with their details: product name – reference number – unit of measure – quantity on hand – new quantity. (Adjust the quantity for each product to match the actual count in the warehouse, and the difference will appear below the new quantity field).
Click “Confirm” to save the adjustment and apply it to the system.
Or “Save” to save it as a draft.
3. Add Inventory
This section is used to record goods received from suppliers into the warehouse. Every time a new shipment arrives, a “Receipt” is created that logs the quantities into the system and automatically updates inventory balances.
Creating a new receipt
Click the “Create” button.
The following window will appear. Fill in the fields according to the instructions below:
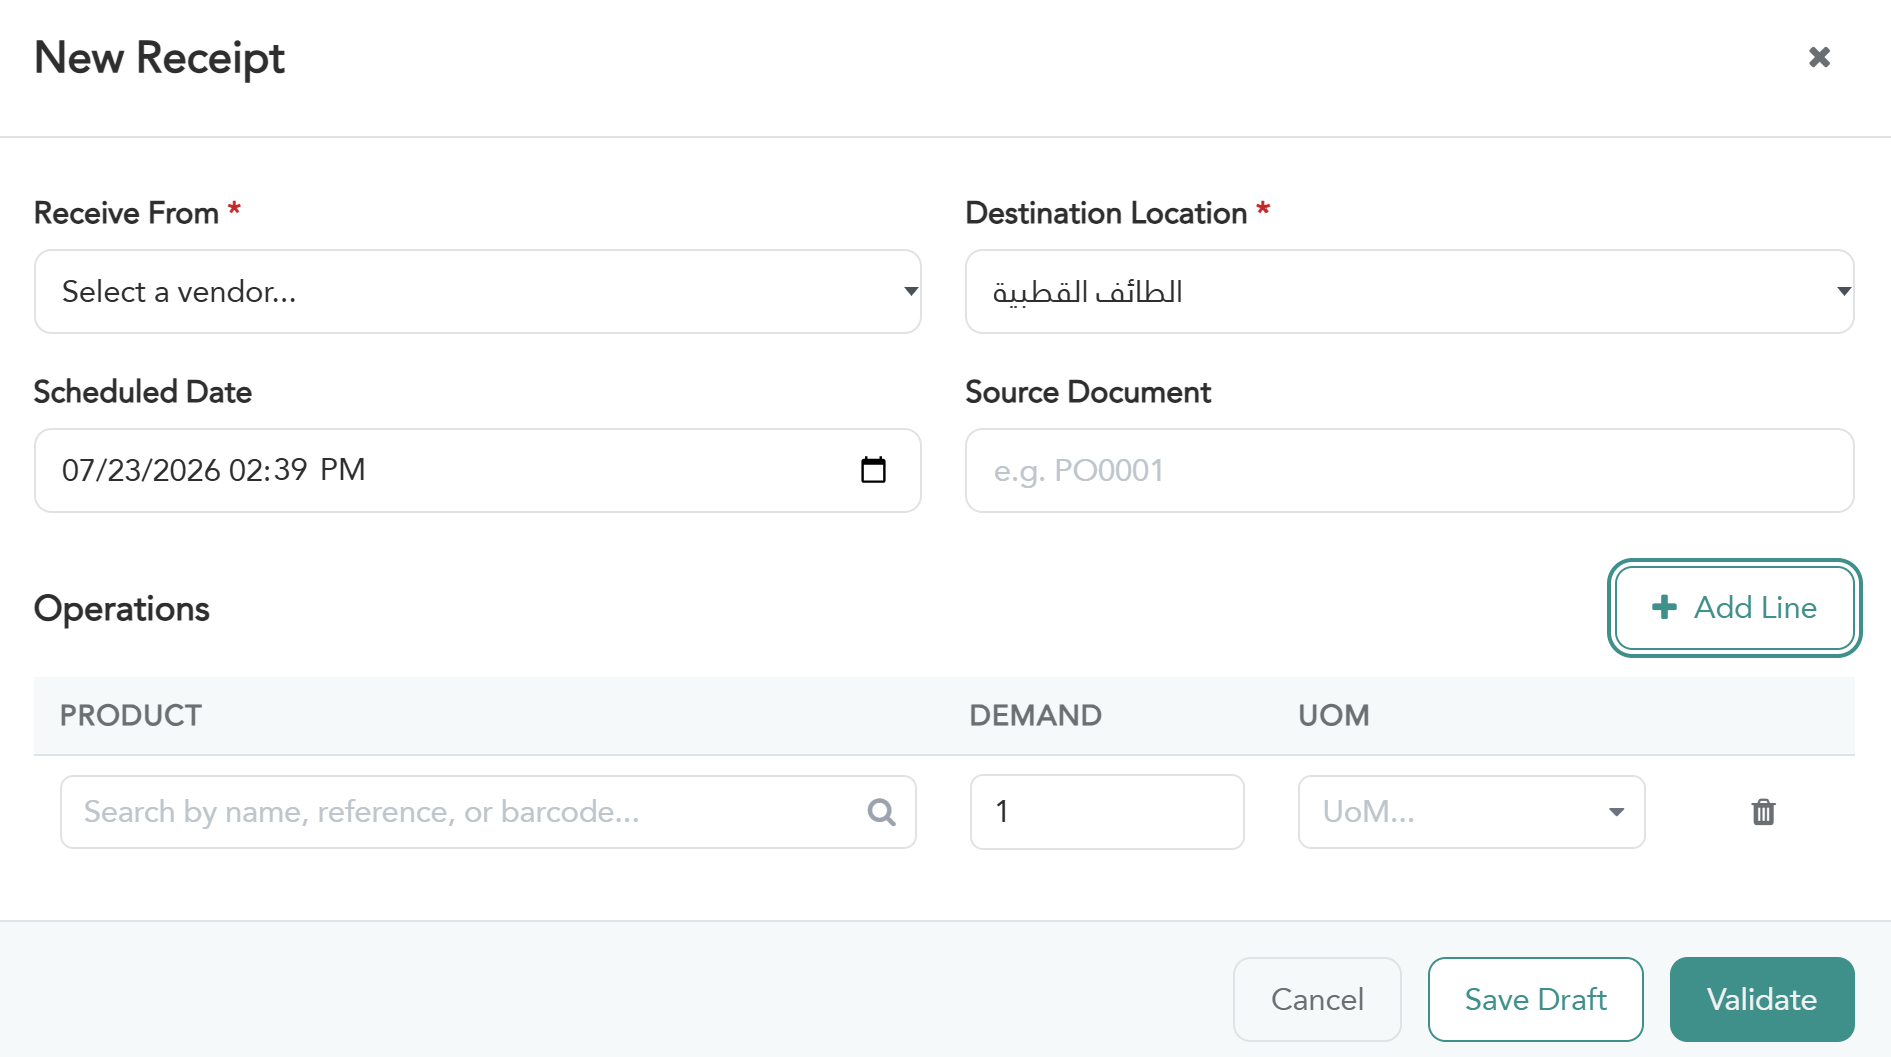
Select “Receive From” (required) — the name of the supplier or party the goods arrived from.
Select “Destination Location” (required) — the warehouse the goods will be stored in (automatically filled with the default location).
Select “Scheduled Date” — the date and time the shipment is received, automatically filled with today's date and can be edited.
Enter “Reference Number” (optional) — the purchase order number linked to the shipment (example: P00009), used to link it with the purchase invoice.
Add products in the “Operations” table by clicking “Add Line”.
Choose the product from the list.
Enter the quantity actually received.
The unit of measure appears automatically based on the product (piece, kilogram, box, etc.).
Click “Save Draft” — to save the receipt without final confirmation (it can be edited later).
Click “Validate” — to confirm the receipt and update inventory balances immediately.
Reviewing previous receipts
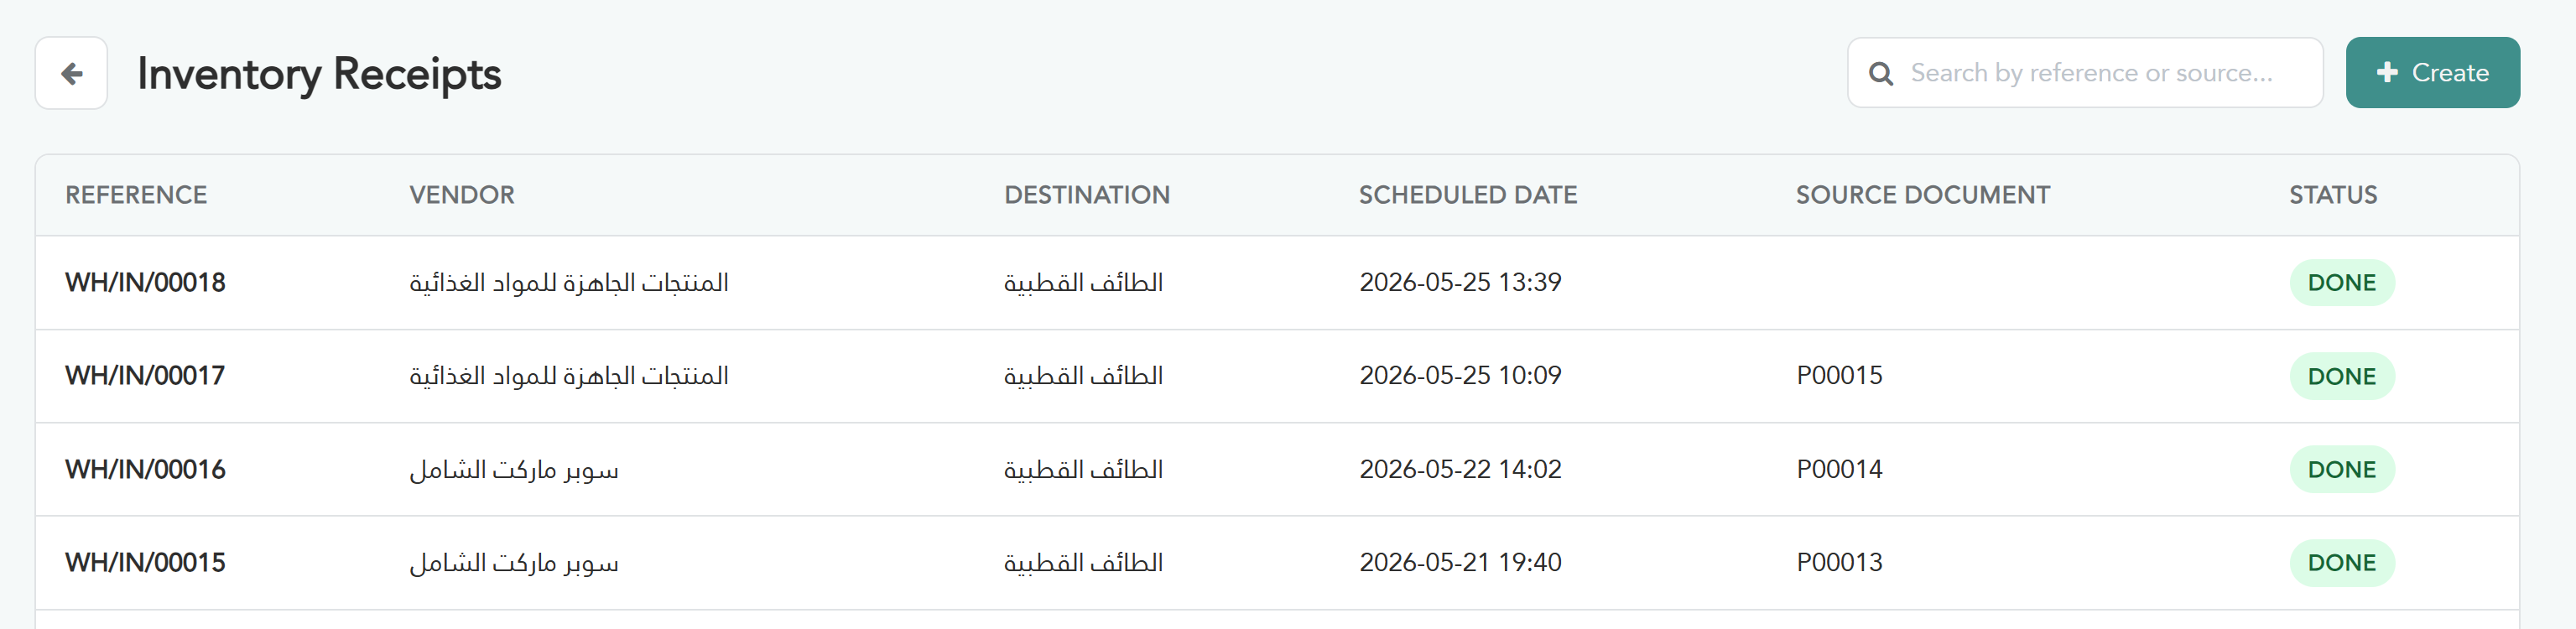
From the “Add Inventory” section's home page, a list of all receipts appears:
Reference number (example: WH/IN/00012).
Supplier (sending party) — destination (receiving warehouse).
Scheduled date — purchase order reference number — status (Done / Draft).
You can search by reference number or supplier name using the search field at the top of the screen.
Click any row to open the receipt details and review the products and quantities received.
4. Internal Transfers
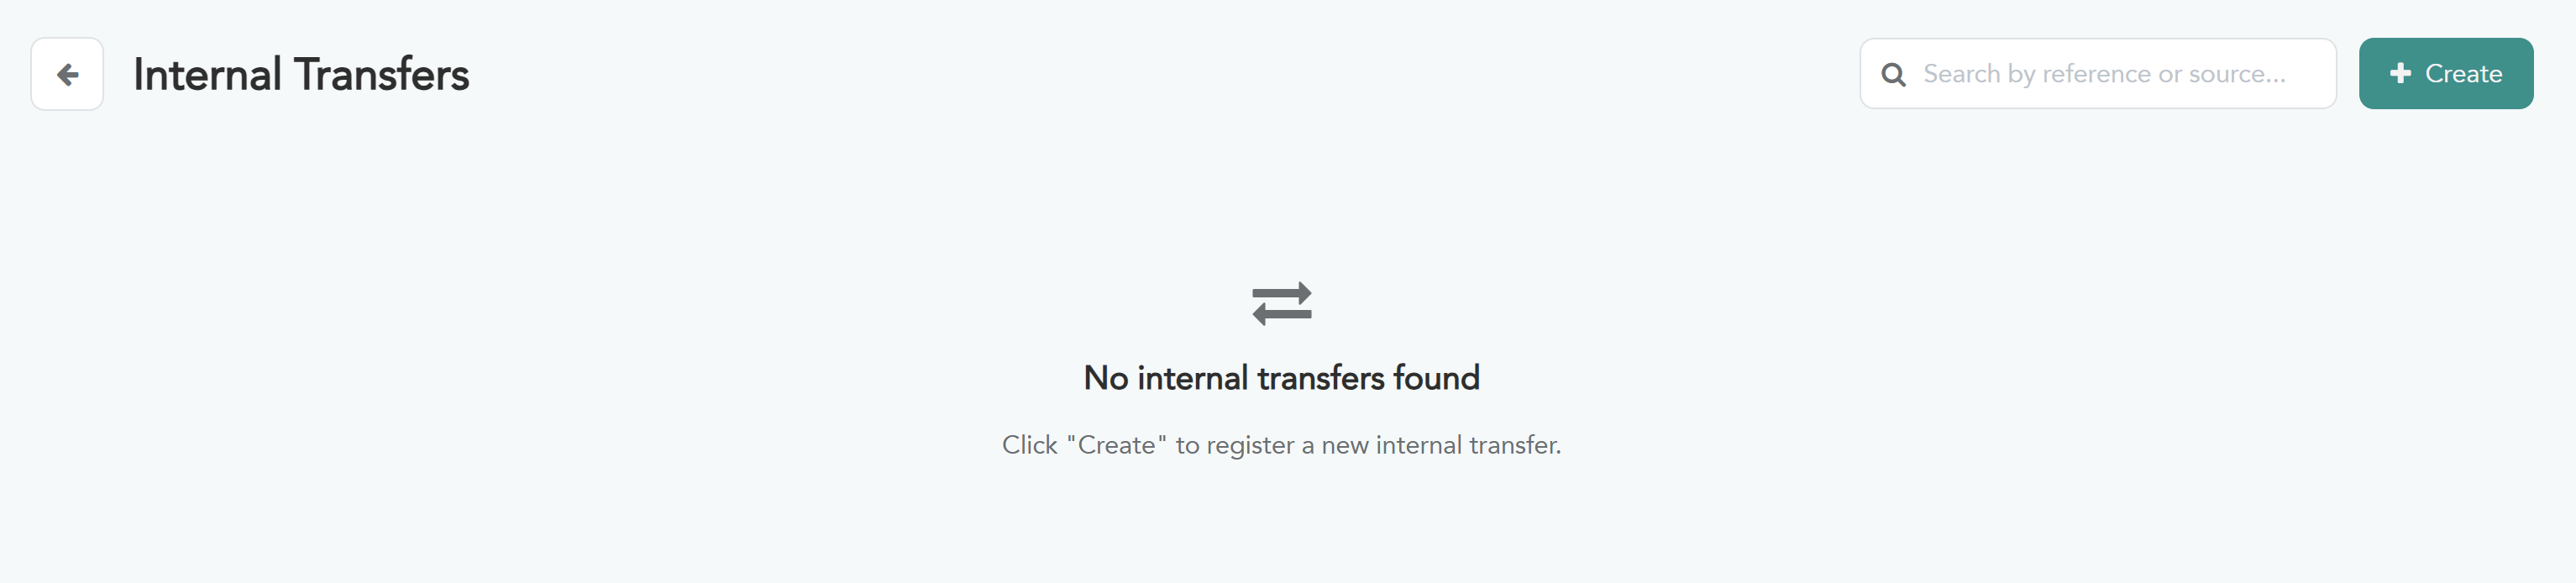
This section is used to move goods between internal storage locations within the business — without the goods leaving the overall warehouse. It's used when moving an item from one storage location to another.
Creating a new internal transfer
Click the “Create” button.
The following window will appear. Fill in the fields according to the instructions below:
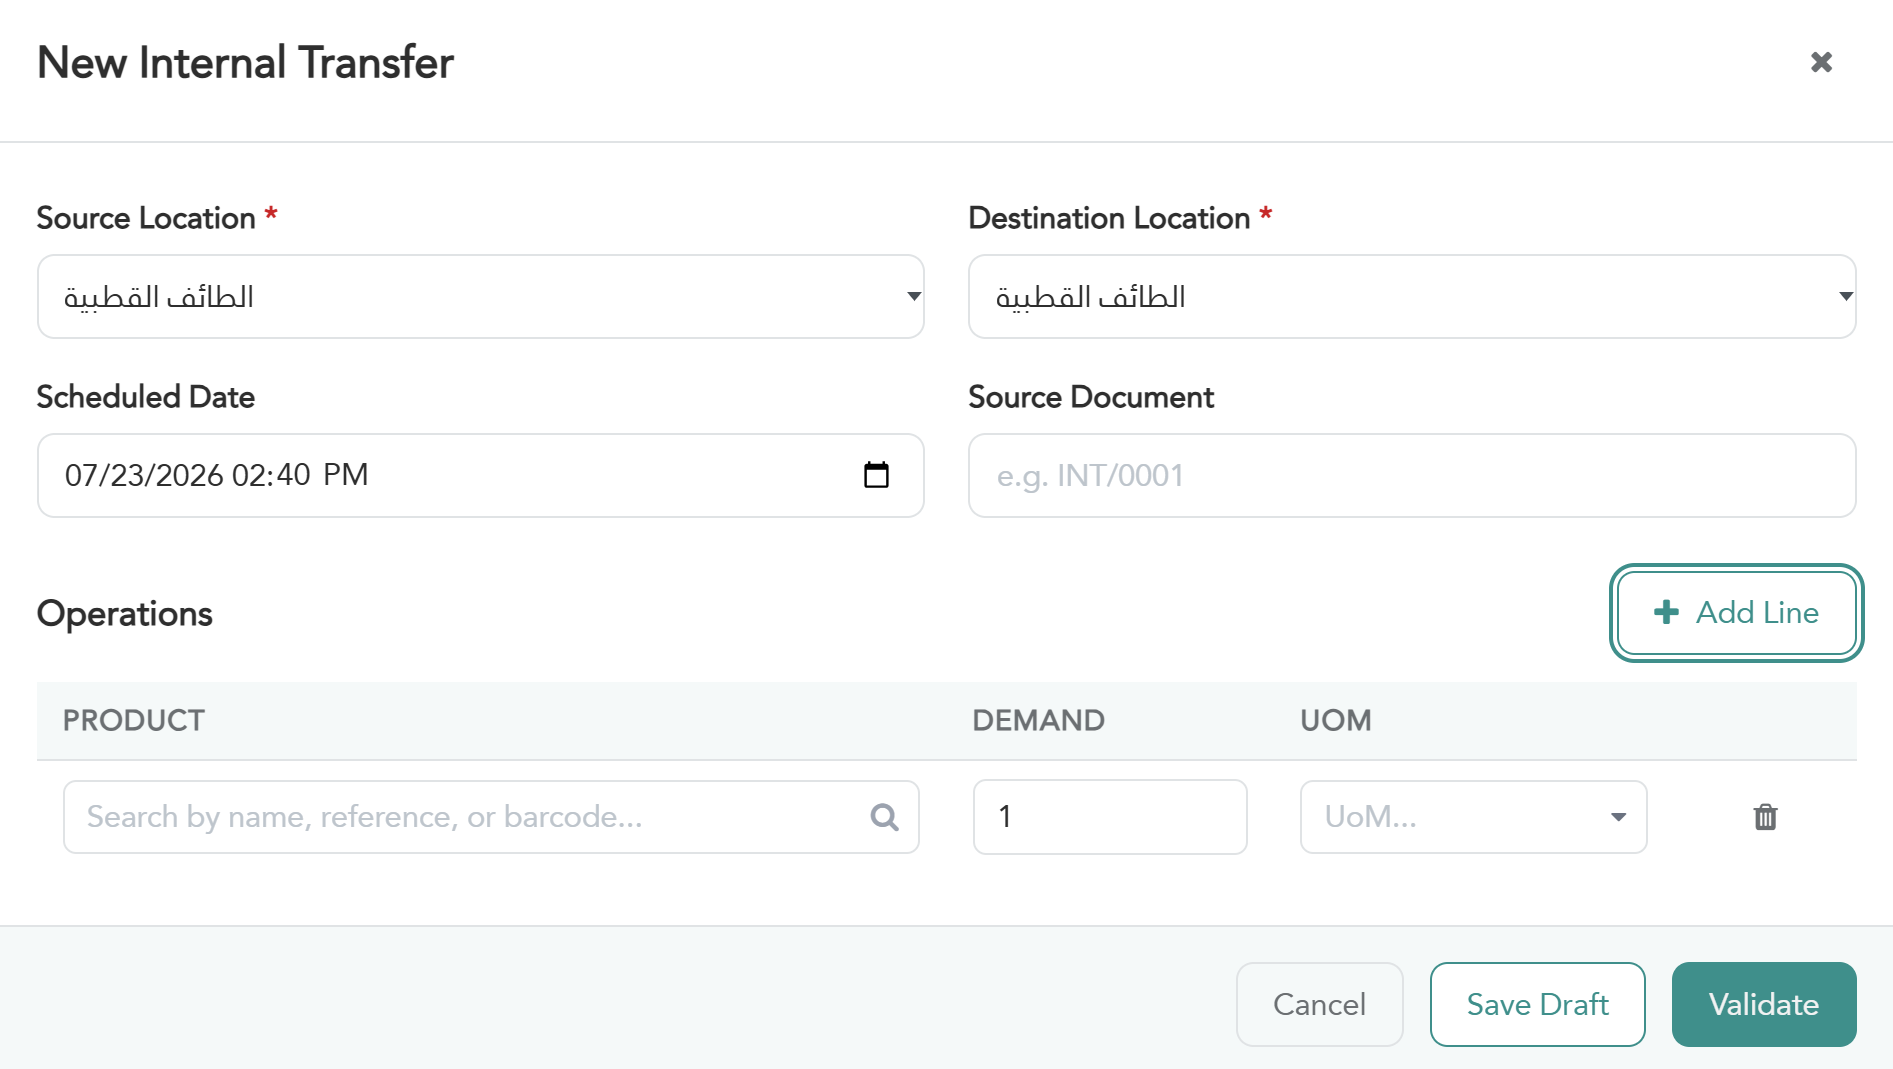
Select “Source Location” (required) — the location the product will be moved from.
Select “Destination Location” (required) — the location the product will be moved to.
Select “Scheduled Date” — the date and time the transfer takes place, automatically filled with today's date.
Enter “Reference Number” (optional) — an internal reference number for tracking the transfer.
Add products in the “Operations” table by clicking “Add Line”.
Choose the product to be moved.
Enter the quantity to be transferred.
The unit of measure appears automatically.
Click “Save Draft” — for a temporary save.
Click “Validate” — to execute the transfer and update the balances at both locations.
Warning: After the transfer is validated, the balance updates automatically: it's deducted from the source location and added to the destination location. Make sure both locations and quantities are correct before validating.